
Deleting a Facebook Page is one of the biggest decisions that you can make for your own reasons some reasons are very common like closing down your business and taking care of several different pages, there’s even the part where sometimes maybe we all just wanted to clean up our digital garage. In this guide, I provide a thorough tutorial for anyone who might be searching for how to delete a Facebook page.

Table of Contents
Before You Learn How to Delete a Facebook Page
Consider Your Decision:
The process of deleting a Facebook page is irreversible and once the web property is off you lose everything on it like posts, photos, and videos even your followers. First of all, I want to tell you about the positive and negative factors before doing that.
- Loss of Content and Followers: The deletion of your own page means that everything you have ever posted is gone, as well as all the people who were following your page. This could potentially damage your personal brand or business if you have a big following and the content posted on your page is valuable.
- Permanent Action: Once deleted a page can’t be restored to its previous state.
- Alternatives to Deletion: Sometimes unpublishing the page, merging it with another, and transferring ownership might be better options, especially if you’re unsure about permanently removing the page.
Backup Important Data
It is very important to download a copy of all the content on your page before you decide to delete it. The backup can be used for historical purposes and will be helpful if you would like to reuse the content someday.
How to Download Page Data:
- Access Your Page Settings: Go to your Facebook Page > Settings (in the top-right corner).
- Navigate to ‘General’: In the settings section, you will see different options. Click on ‘General’.
- Find ‘Download Page’: After scrolling a bit, you should be able to find the Download page.
- Select Data to Download: Where you can choose what data you want to download from Facebook. You have the option of downloading everything (no recommendations there) or just posts, photos videos, etc. Choose what you need.
- Create File: Hit the Create File to get started. You will be notified by Facebook when the data is ready to download. The time it takes varies with the amount of data present but mostly it takes time from a few minutes up to hours.
Step-by-Step Guide to Deleting a Facebook Page
Things to know before you delete a page on Facebook, maintaining the following is very important in order to avoid any problems.
On Desktop or Laptop
- Access Your Facebook Page: Make sure that you log into your Facebook accounts using the admin account which has the authority to Delete the Page.
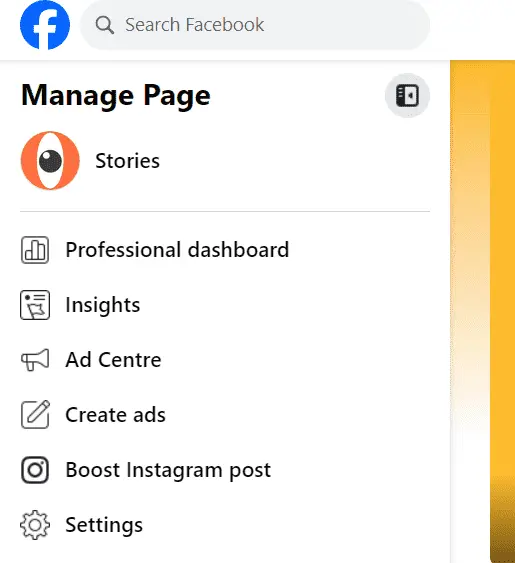
- Navigate to Settings: Click on your profile photo on the upper-right corner Click on it and Select “Pages” from the dropdown menu to see a list of all the pages you manage.
- Select the Page You Want to Delete: Select the name of the page you wish to delete. This will take you to the page’s main interface. On the left-hand side, click on “Settings.” This will open the settings menu for the page.
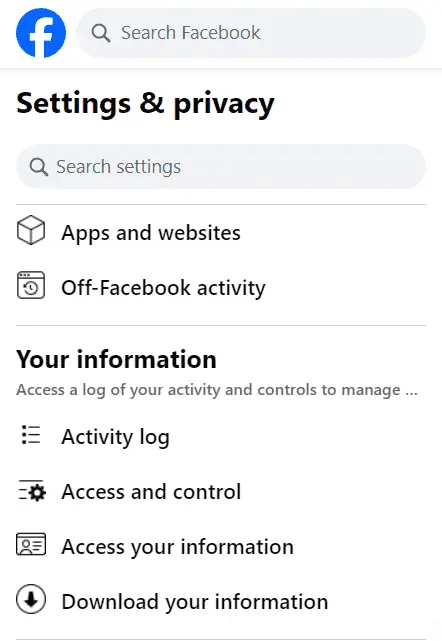
- Find the ‘Remove Page’ Option: After clicking the setting you will find many setting options on the left-hand side scroll down and select Access and Control.
- Confirm Deletion: Now click on the “Delete [Page Name] section. Facebook will ask you with a pop-up for confirmation. The pop-up will tell you that deleting this page is permanent and cannot be undone. It will also serve as a reminder that you have 14 days to undo the deletion should you change your mind.
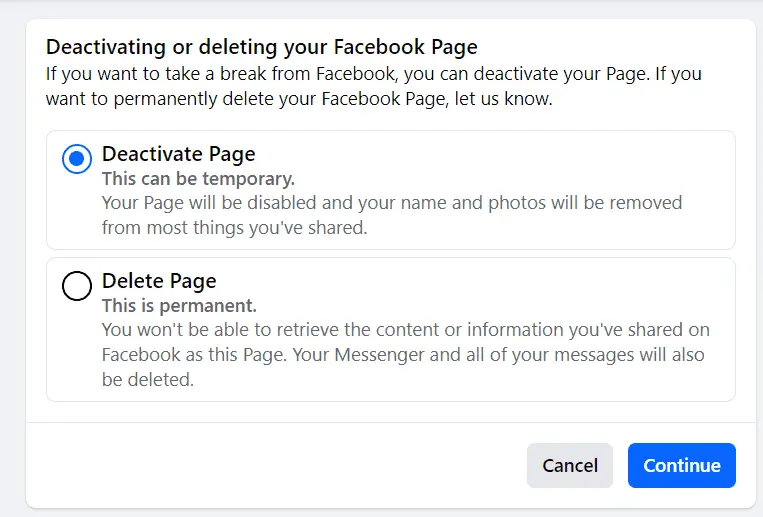
- Final Confirmation: Click ‘Delete Page’ to complete the process The page will then go into a 14-day grace period where it is deactivated but not permanently deleted.
Facebook will then permanently delete the page and all of its content once 14 days passed. While in this period, if you log in and want to cancel the deletion of a page. So, in this case, you will be provided a way of visiting that page and selecting the options link for canceling it.
Alternatives to Delete a Facebook Page
Do you fear removing your page? Here are a few other ways that may better meet your needs.
Unpublishing Your Page
When you unpublish a page it will not be destroyed, all content and settings stay where they are. This a good thing to do if you want a take time out or may be someday want to plan to return back on the page later.
How to Unpublish Your Page
- Go to Settings: go to your page’s settings as described earlier.
- Find ‘Page Visibility’: In the ‘General’ settings tab, locate the ‘Page Visibility’ option.
- Unpublish the Page: Click ‘Edit’ next to ‘Page Visibility’ and then select ‘Page unpublished.’ Confirm your choice by clicking ‘Save Changes.’
Merging Pages
OK, so now let’s say you want to merge two or more of these pages into one. This allows you to combine the content and followers from one page into another, keeping your biggest Page alive.
How to Merge Pages:
- Go to the Page You Want to Keep: Head over to the settings of the page you want to keep.
- Find ‘Merge Pages’: In the settings menu, locate the ‘Merge Pages’ option. Please keep in mind that you will only have this option if your pages have similar names and represent the same thing.
- Select Pages to Merge: Choose the page you want to merge with the one you are keeping by clicking on Merge Pages. Follow the on-screen instructions to finish up and then we have merged! Facebook will combine the two into one page, transferring over likes and check-ins to whichever is kept as your surviving page while deleting the other completely.
Conclusion
When you delete a Facebook page, it is forever. Please make sure that you have thought of everything backup any important data and have a deep understanding before going further. Follow this guide to help you decide on which path suits your needs; whether it is deleting the page, publishing, or merging your pages. If you need help, visit Facebook’s Help Center.